The Complete Guide to Webflow Templates

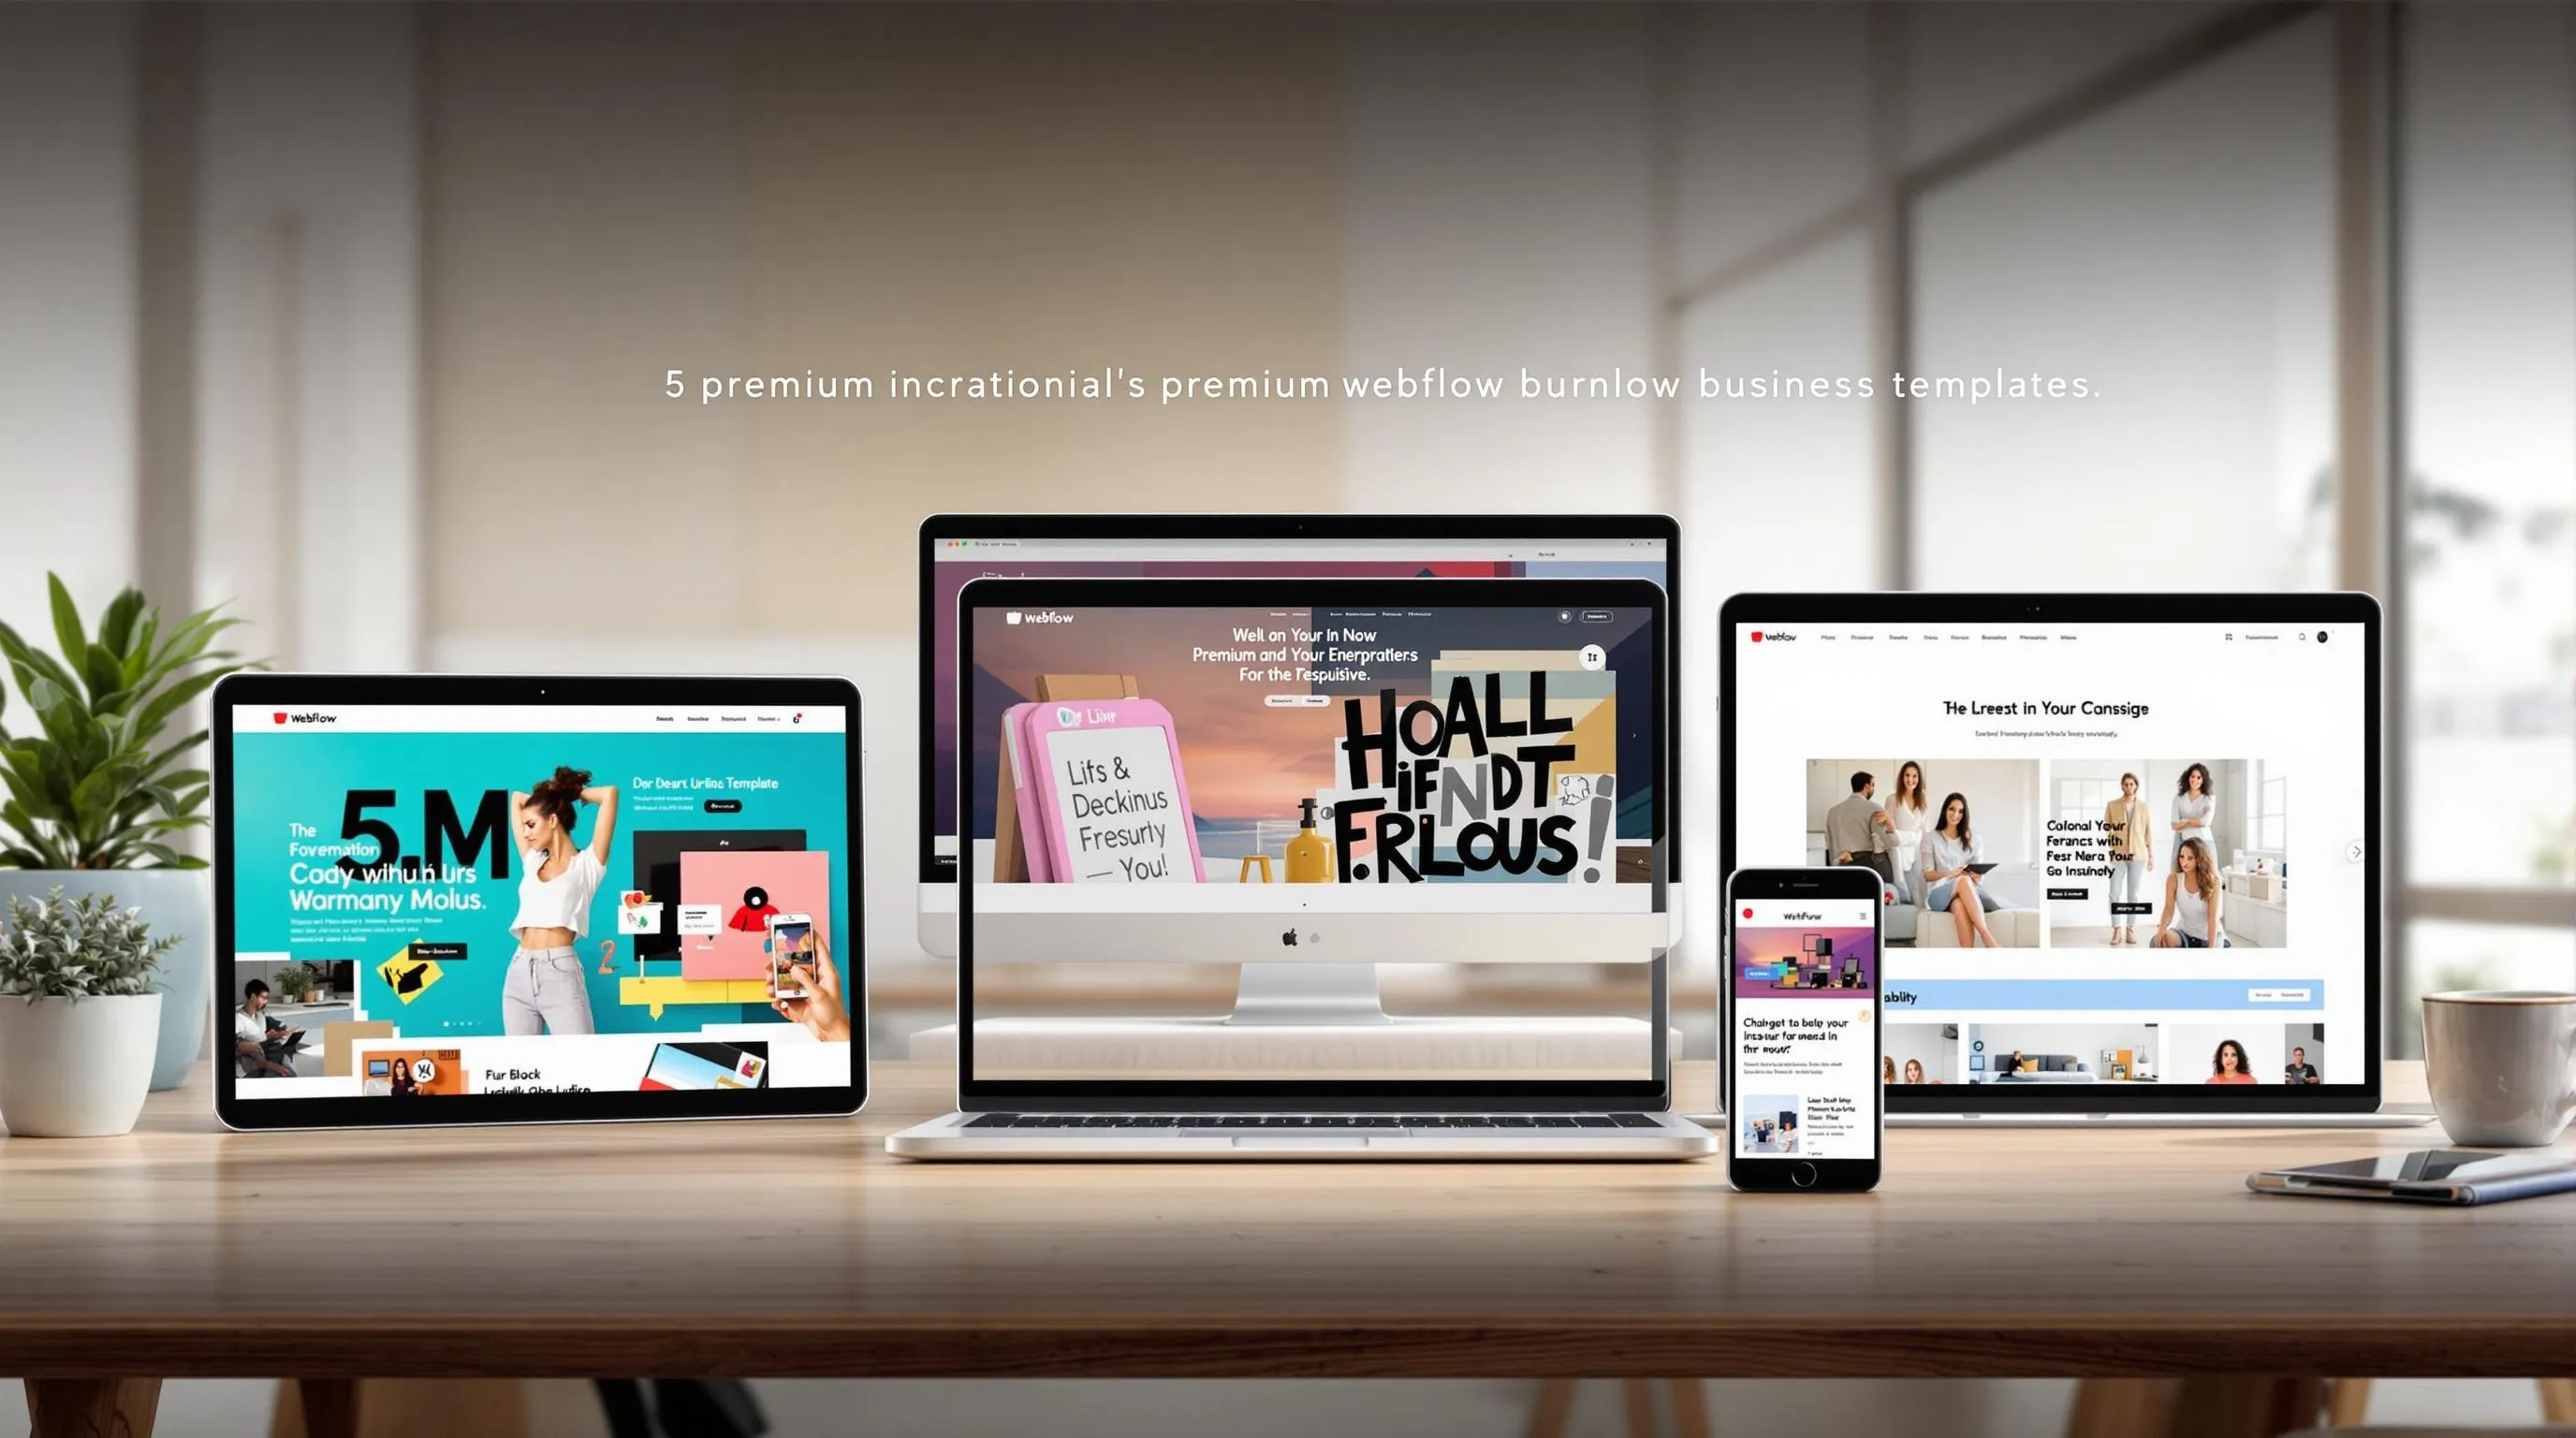
Webflow templates are pre-designed layouts that make building websites faster and easier. With over 1,500 options, they cater to various industries and needs, offering responsive designs, cost-effective solutions, and customization without coding. Prices typically range from $19 to $149.
Key Benefits:
- Save Time: Start with ready-made layouts.
- Affordable: Templates cost $50–$100 on average, cheaper than hiring a developer.
- Modern Design: Templates follow current trends.
- Responsive: Works seamlessly on all devices.
- Easy to Customize: Adjust elements to match your brand.
Who Can Use Them:
- Small businesses, solopreneurs, startups, and tech companies.
- Industries like SaaS, e-commerce, healthcare, real estate, and more.
How to Pick the Right Template:
- Match the template to your industry (e.g., SaaS, finance, wellness).
- Check features like responsive design, customization options, and SEO readiness.
- Choose between free (limited features) or paid templates (advanced features and support).
Steps to Customize:
- Use Webflow Designer for visual edits.
- Add brand elements like colors, fonts, and logos.
- Replace placeholder content with your own text and images.
Optimize for Performance:
- Compress images, clean up code, and enable caching to improve speed.
- Test on mobile devices for responsiveness.
- Follow SEO best practices like adding meta descriptions and structured data.
Popular Templates:
| Industry | Template Name | Features | Price |
|---|---|---|---|
| Veterinary | Vetic | Pet services, customizable layout | $129 |
| Finance | Moneta | Clean design for financial firms | $79 |
| Real Estate | Elevates | Property listings and tours | $79 |
| Wellness | Serenium | Fitness-focused features | $79 |
Webflow templates are a practical solution for creating professional websites quickly and affordably. Whether you're a small business or a large company, these templates can help you achieve your goals with minimal effort.
How To Customize Webflow Templates - A Beginner's Guide

How to Pick a Template
Choosing the right template is crucial for aligning your website's design with your business goals. Selecting a template tailored to your industry can make your site more relevant and effective.
Templates by Industry
Different industries have specific needs, and templates designed for those industries can save you time and effort. For instance, Temlis offers Vetic ($129) for veterinary practices and Miros ($129) for SaaS showcases. For financial services, templates like Moneta ($79) cater to accounting firms.
Here’s a quick look at popular templates and their standout features:
| Industry | Key Features | Price Range |
|---|---|---|
| SaaS/Tech | Analytics dashboards, feature comparison tables | $79–$129 |
| E-commerce | Product galleries, shopping cart integration | $79–$149 |
| Healthcare | Appointment booking, HIPAA compliance | $79–$129 |
| Real Estate | Property listings, virtual tour integration | $79–$129 |
| Professional Services | Case studies, testimonial sections | $79–$149 |
Free vs. Paid Templates
Your choice between free and paid templates influences both functionality and design flexibility. Free templates often come with limitations, such as a maximum of two pages and fewer customization options. Paid templates, typically priced between $19 and $149, provide advanced features and access to dedicated support.
Key Template Features to Check
When selecting a template, prioritize these features to ensure a smooth experience:
-
Responsive Design
Your site should work seamlessly across all devices. A mobile-friendly design is critical, especially since 38% of users will leave a website if its layout is unattractive on their device. -
Customization Options
Choose templates with features like:- Style guides for consistent branding
- Flexible content management systems
- Customizable navigation menus
- Modular elements for easy updates
-
Technical Requirements
Ensure the template includes:- Clean, SEO-friendly, cross-browser-compatible code
- Fast loading speeds
- Integration options for third-party tools
Before buying, test templates using Webflow's "Preview in Designer" tool. A well-chosen template not only simplifies customization but also boosts your site's overall performance. These considerations will help set the foundation for a successful website.
Template Customization Steps
After selecting the right template, it's time to make it your own. Here's how to adjust it to match your brand.
Webflow Designer Basics
The Webflow Designer offers tools that let you customize templates without coding. You can also access pre-set design elements on the Style Guide page.
Here are some key tools in Webflow Designer and how to use them:
| Tool | Function | Tips for Use |
|---|---|---|
| Visual Editor | Make design changes in real-time | Preview changes before publishing |
| Navigator Panel | Find and edit specific elements | Use clear and consistent naming for elements |
| Style Manager | Manage and reuse design styles | Create reusable class styles for efficiency |
| Breakpoint Manager | Adjust layouts for different screen sizes | Test your changes on multiple devices |
Once you're familiar with these tools, you can start incorporating your brand's identity.
Adding Brand Elements
To make the template reflect your brand, start by applying your color palette. Use Webflow's Global Swatches feature to ensure consistent colors throughout your site.
For typography:
- Go to Project Settings > Fonts
- Connect to Google Fonts or upload custom fonts
- Set up fonts using heading hierarchies
- Check readability on various devices
Next, add your logos and other assets:
- Use high-quality images that are compressed for faster loading
- Keep spacing and alignment uniform
- Create responsive versions of assets for different screen sizes
- Add alt text to images for better accessibility
Content Updates
Replace placeholder content with your own text and images to finalize your site's look and feel.
Here's how to approach content updates:
- Navigation Setup: Update the menu to match your site's structure. Double-check that all links work and maintain a clear hierarchy.
- Page Content: Replace template text and images while sticking to the design system. Focus on content that's scannable and works well on all devices.
- Dynamic Elements: If your template includes CMS features, add your content while keeping formatting consistent.
Lastly, compress your images and save any unused pages as drafts to improve site performance.
sbb-itb-fdf3c56
Template Speed and Performance
Once you've customized your template, making sure it runs efficiently is key to keeping visitors engaged. A fast-loading site is crucial - 26% of users leave pages that take over five seconds to load.
Speed Optimization
Here are some practical ways to improve your template's loading speed:
Image Optimization
- Use Webflow's WebP tool to compress images.
- Enable lazy loading for images below the fold.
- Compress PNG and JPG files with tools like Image Compressor.
- Opt for SVGs for decorative visuals.
Code and Asset Management
- Eliminate unused styles and interactions.
- Consolidate styles to reduce redundancy.
- Minimize third-party scripts with Google Tag Manager.
- Turn on browser caching in Webflow's settings.
| Speed Factor | Impact | Optimization Method |
|---|---|---|
| Image Size | Critical | WebP format + compression |
| Font Loading | High | Limit to 2-3 fonts, use system fonts |
| Scripts | High | Delay loading, remove unused scripts |
| Browser Caching | Medium | Enable in Webflow settings |
Mobile Display Testing
With mobile users dominating web traffic, optimizing for smaller screens is non-negotiable. Here's how to ensure your site works seamlessly on mobile devices:
Testing Protocol
- Preview your site on various devices to test responsiveness and touch interactions.
- Make sure interactive elements are at least 44x44 pixels.
- Test loading times on both Wi-Fi and cellular networks.
Common Mobile Issues
- Oversized images slowing down load times.
- Text that's too small or hard to read.
- Navigation elements placed too close together.
- Forms that don't fit or function well on mobile screens.
These checks ensure your template is functional and user-friendly across all devices.
SEO Setup
Speed and mobile usability aside, search engine optimization (SEO) is just as important. By 2025, images are expected to appear in 35.3% of all search queries, making visual optimization a priority.
Key SEO Elements
- Use descriptive URLs that align with page content.
- Include one H1 tag per page.
- Keep SEO titles under 55 characters.
- Write meta descriptions up to 150 characters.
- Add structured data markup for rich snippets.
To track and improve your site's performance, connect it to Google Search Console and Analytics. Regularly use tools like PageSpeed Insights and GTmetrix to identify any weak spots. For context, the top-performing e-commerce websites load in 0 to 2 seconds, setting a clear goal for your site's speed.
Template Success Stories
Business Examples by Industry
Customizing Webflow templates can lead to impressive results across various industries. Take Space Posters, for example - an e-commerce store selling minimalist, space-themed posters. They improved their online presence with dynamic animations that highlight their products. Nalen Ayurveda, a natural skincare brand, built trust with clear product categories, trust badges, and slider galleries. Meanwhile, Rye River's beer store uses a green backdrop and clear product segmentation to make product details and pricing easy to navigate. These examples show how tailored, industry-specific design can boost user engagement.
Temlis Template Gallery

Temlis offers a handpicked selection of templates designed for specific industries:
| Industry | Template Name | Key Features | Price |
|---|---|---|---|
| Veterinary | Vetic | Pet wellness services, customizable layout | $129 |
| Finance | Moneta | Financial services showcase, sleek design | $79 |
| Real Estate | Elevates | Property showcase with architectural focus | $79 |
| Wellness | Serenium | Fitness features, mobile-friendly design | $79 |
Common Success Factors
Certain elements consistently contribute to success when using Webflow templates. For example, Flowga, a yoga studio, integrated its own color palette and visuals into their template, leading to increased bookings and engagement. Impactmilo saw a boost in conversions within just three days by prioritizing strategic branding, optimizing media, and fine-tuning performance. Dropbox Sign's switch to Webflow Enterprise reduced developer tickets by 67%, making website management much more efficient.
These examples highlight how choosing the right template for your industry and customizing it thoughtfully can help grow your business while strengthening your brand identity.
Getting Started with Templates
Main Points Review
Before diving into your Webflow template project, it's crucial to prepare and follow a clear plan. This ensures a smoother process and better results. The Webflow Template Marketplace offers a range of options priced between $19 and $149, depending on the complexity. Premium templates like Vetic ($129) are ideal for specific industries, while free templates are a good fit for simpler needs.
Starting Your Project
Kick off your project with these steps:
-
Choose the Right Template
Select a template that matches your industry and project goals. For instance, if you're in the wellness sector, the Serenium template ($79) includes fitness-focused features and a mobile-friendly design. -
Set Up and Configure
Activate the "Coming Soon" page to keep your work private while building. Familiarize yourself with the template's Style Guide to understand its design framework and maintain consistency.
Here's a quick overview of the setup process:
| Setup Phase | Key Actions | Purpose |
|---|---|---|
| Pre-launch | Enable "Coming Soon" page | Keep work private |
| Design | Review Style Guide | Understand design structure |
| Backup | Duplicate template | Save original design |
| Customization | Update brand elements | Match your brand identity |
Once you've set up your template, start customizing it step by step. Update your brand elements like colors and typography first, then move on to refreshing the content. Use Webflow's tools, such as the color swatches feature, to ensure a consistent look across your site.
When adding content, prioritize key pages like your homepage and about section. Gradually expand to more specific pages. Don’t forget to optimize for search engines by completing SEO fields and configuring Open Graph settings.
Related Blog Posts
Recommended posts